今回は、さくらのVPS-Ruby on Railsにて、テキストを入力して、一覧表示する簡単なものを作ってみます。
現状はtest001という名前でrailsプロジェクトを作成し、MariaDBとの連携(rails db:create)まで完了しています。
前回のおさらい。
・さくらのVPS-Ruby on RailsとMariaDBを連携させる
https://koooza.net/2018/06/14/%E3%81%95%E3%81%8F%E3%82%89%E3%81%AEvps%EF%BC%8Druby-on-rails%E3%81%A8mariadb%E3%82%92%E9%80%A3%E6%90%BA%E3%81%95%E3%81%9B%E3%82%8B/
やること
1.Model作成
2.Routerの設定
3.Controllerの設定
4.Viewの設定
5. 新規入力機能の設定
1.Model作成
テキスト入力ということで、Textinという名前のモデルを作成する。
# rails g model Textin content:string
Running via Spring preloader in process 17291
      invoke  active_record
      create    db/migrate/20180613063119_create_textins.rb
      create    app/models/textin.rb
      invoke    test_unit
      create      test/models/textin_test.rb
      create      test/fixtures/textins.yml
マイグレーションファイルの確認
# more db/migrate/20180613063119_create_textins.rb
class CreateTextins < ActiveRecord::Migration[5.1]
  def change
    create_table :textins do |t|
      t.string :content

      t.timestamps
    end
  end
end
マイグレーションの実行
# rails db:migrate
== 20180613063119 CreateTextins: migrating ====================================
-- create_table(:textins)
   -> 0.0022s
== 20180613063119 CreateTextins: migrated (0.0023s) ===========================
成功!
MariaDBのテーブル確認
# mysql -u root -p
Enter password:
Welcome to the MariaDB monitor.  Commands end with ; or \g.
Your MariaDB connection id is 17
Server version: 5.5.56-MariaDB MariaDB Server

Copyright (c) 2000, 2017, Oracle, MariaDB Corporation Ab and others.

Type 'help;' or '\h' for help. Type '\c' to clear the current input statement.

MariaDB [(none)]>
MariaDB [(none)]> show tables;
ERROR 1046 (3D000): No database selected
MariaDB [(none)]> show databases;
+---------------------+
| Database            |
+---------------------+
| information_schema  |
| db/test001_test     |
| mysql               |
| performance_schema  |
| test001_development |
+---------------------+
5 rows in set (0.00 sec)

MariaDB [(none)]> use test001_development
Reading table information for completion of table and column names
You can turn off this feature to get a quicker startup with -A

Database changed
MariaDB [test001_development]>
MariaDB [test001_development]> show tables;
+-------------------------------+
| Tables_in_test001_development |
+-------------------------------+
| ar_internal_metadata          |
| schema_migrations             |
| textins                       |
+-------------------------------+
3 rows in set (0.00 sec)
textinsテーブルが作成された
テーブルのカラムも確認してみる。
MariaDB [test001_development]> describe textins
    -> ;
+------------+--------------+------+-----+---------+----------------+
| Field      | Type         | Null | Key | Default | Extra          |
+------------+--------------+------+-----+---------+----------------+
| id         | bigint(20)   | NO   | PRI | NULL    | auto_increment |
| content    | varchar(255) | YES  |     | NULL    |                |
| created_at | datetime     | NO   |     | NULL    |                |
| updated_at | datetime     | NO   |     | NULL    |                |
+------------+--------------+------+-----+---------+----------------+
4 rows in set (0.00 sec)

MariaDB [test001_development]>
content カラムが作成されています。
次に試しに簡単な入力画面を作ってアクセスしてみる。
モデル一覧の確認
# rails c
Running via Spring preloader in process 17381
Loading development environment (Rails 5.1.6)
irb(main):001:0> Textin
=> Textin (call 'Textin.connection' to establish a connection)
irb(main):002:0> Textin.all
   (1.0ms)  SET NAMES utf8,  @@SESSION.sql_mode = CONCAT(CONCAT(@@sql_mode, ',STRICT_ALL_TABLES'), ',NO_AUTO_VALUE_ON_ZERO'),  @@SESSION.sql_auto_is_null = 0, @@SESSION.wait_timeout = 2147483
  Textin Load (0.8ms)  SELECT  `textins`.* FROM `textins` LIMIT 11
=> #
irb(main):003:0>
今は何も入っていない
モデルのインスタンスからデータベースへ保存する
# rails c
Running via Spring preloader in process 17417
Loading development environment (Rails 5.1.6)
irb(main):002:0> textin =Textin.new(content: 'test')
   (1.0ms)  SET NAMES utf8,  @@SESSION.sql_mode = CONCAT(CONCAT(@@sql_mode, ',STRICT_ALL_TABLES'), ',NO_AUTO_VALUE_ON_ZERO'),  @@SESSION.sql_auto_is_null = 0, @@SESSION.wait_timeout = 2147483
=> #
irb(main):004:0> textin
=> #
irb(main):005:0>
irb(main):006:0* textin.save
   (0.5ms)  BEGIN
  SQL (0.9ms)  INSERT INTO `textins` (`content`, `created_at`, `updated_at`) VALUES ('test', '2018-06-13 06:43:01', '2018-06-13 06:43:01')
   (1.2ms)  COMMIT
=> true
irb(main):007:0>
データベースへカラムcontentの中身が「test」で保存できました。
2.Routerの設定
routingの編集
# vim config/routes.rb
Rails.application.routes.draw do
  # For details on the DSL available within this file, see http://guides.rubyonrails.org/routing.html

root to: 'textins#index'

resources :textins

end
太字部分を追加
ルーティングの確認
# rails routes
     Prefix Verb   URI Pattern                 Controller#Action
    textins GET    /textins(.:format)          textins#index
            POST   /textins(.:format)          textins#create
 new_textin GET    /textins/new(.:format)      textins#new
edit_textin GET    /textins/:id/edit(.:format) textins#edit
     textin GET    /textins/:id(.:format)      textins#show
            PATCH  /textins/:id(.:format)      textins#update
            PUT    /textins/:id(.:format)      textins#update
            DELETE /textins/:id(.:format)      textins#destroy
ちゃんと設定されています。
3.Controllerの設定
コントローラの作成
# rails g controller Textins
Running via Spring preloader in process 17664
      create  app/controllers/textins_controller.rb
      invoke  erb
      create    app/views/textins
      invoke  test_unit
      create    test/controllers/textins_controller_test.rb
      invoke  helper
      create    app/helpers/textins_helper.rb
      invoke    test_unit
      invoke  assets
      invoke    coffee
      create      app/assets/javascripts/textins.coffee
      invoke    scss
      create      app/assets/stylesheets/textins.scss
コントローラファイルの編集
# vim app/controllers/textins_controller.rb
class TextinsController < ApplicationController

# vim app/controllers/textins_controller.rb
class TextinsController < ApplicationController

def index
    @textins = Textin.all
  end

  def show
  end

  def new
  end

  def create
  end

  def edit
  end

  def update
  end

  def destroy
  end

end
太字部分を追加。
indexアクションにはモデルTextinの全リストを記載( Textin.all)
4.Viewの設定
Viewファイルの作成
indexアクションに対応するViewファイルを作成
空ファイルを作成
# touch app/views/textins/index.html.erb
作成したファイルを修正
# vim app/views/textins/index.html.erb
<h1>TEST TEXT</h1>

<ul>
  <% @textins.each do |textin| %>
    <li><%= textin.content %></li>
  <% end %>
</ul>
モデルtextinの中身を表示させる内容とする。
サーバにブラウザでアクセスしてみる。
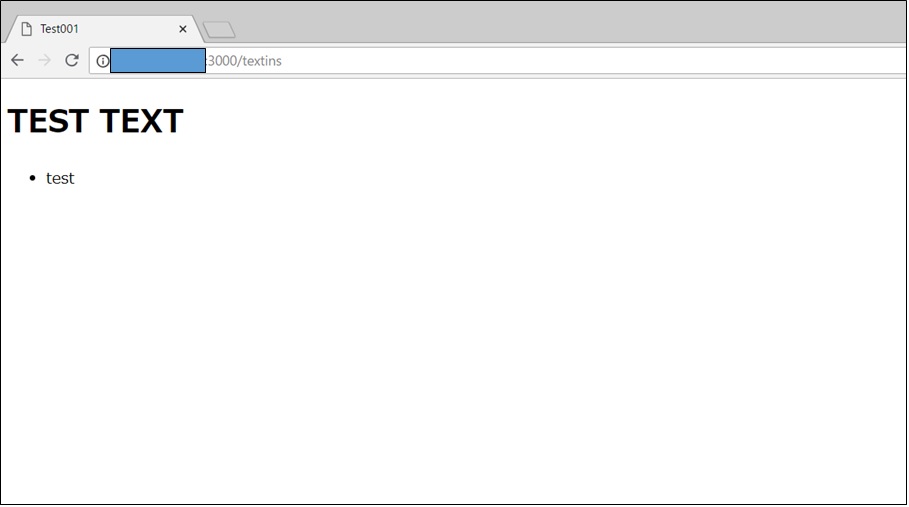
無事、表示できました!!
先ほどDBに保存したcontentカラムの「text」が表示されています。
これでテキストを一覧表示するところまでできました。
今は、データベースに直接入力したものを表示するだけですが、
これにブラウザから入力したものを表示できるようにします。
5. 新規入力機能の設定
入力画面(new)の作成
Routerの確認
# rails routes
     Prefix Verb   URI Pattern                 Controller#Action
       root GET    /                           textins#index
    textins GET    /textins(.:format)          textins#index
            POST   /textins(.:format)          textins#create
 new_textin GET    /textins/new(.:format)      textins#new
edit_textin GET    /textins/:id/edit(.:format) textins#edit
     textin GET    /textins/:id(.:format)      textins#show
            PATCH  /textins/:id(.:format)      textins#update
            PUT    /textins/:id(.:format)      textins#update
            DELETE /textins/:id(.:format)      textins#destroy
newのルートは
new_textin GET /textins/new(.:format) textins#new
コントローラは、
# vim app/controllers/textins_controller.rb
def new
  end
の部分を
def new
    @textin = Textin.new
  end
へ編集
Viewの作成
# touch app/views/textins/new.html.erb
<h1>TEXT NEW</h1>

<%= form_for(@textin) do |f| %>
  <%= f.label :content, 'text'%>
  <%= f.text_field :content %>

  <%= f.submit 'submit' %>
<% end %>

<%= link_to 'TOP',textins_path %>
vimで日本語が文字化けしたので、タイトル等は日本語で表示させたかったのですが、今回は英語で対応する
画面表示してみる
http://サーバのアドレス:3000/textins/new
簡素な画面ですが、無事表示できた。
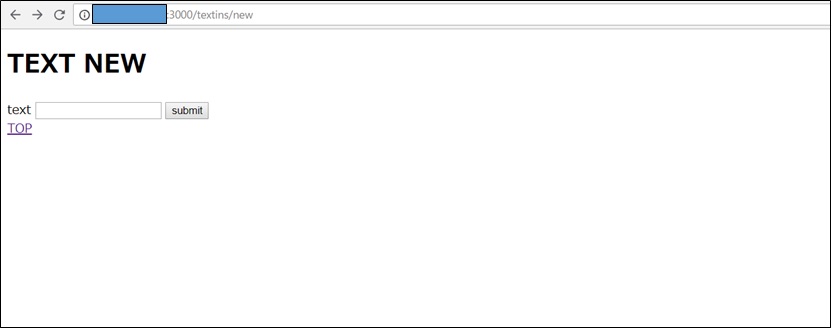
今のままだとブラウザにURLを直接入力しないと、この入力画面にいけないので、index(トップページ)に入力画面へのリンクをつける。
indexのVIEW
# vim app/views/textins/index.html.erb
<h1>TEST TEXT</h1>

<ul>
  <% @textins.each do |textin| %>
    <li><%= textin.content %></li>
  <% end %>
</ul>

<%= link_to 'link to text new', new_textin_path %>
最終行に太字部分を追加
new_textin_path はnewの画面へのパスという意味
これはRouterを見れば確認できる。
newのrouterは先ほどの
new_textin GET /textins/new(.:format) textins#new
です。
Railsでは、頭に書かれている new_textin に_pathをつけると
それへのパスという意味になる。
なので今回は「new_textin_path」となる。
トップページを見てみる
link to text new というリンクが出てきた
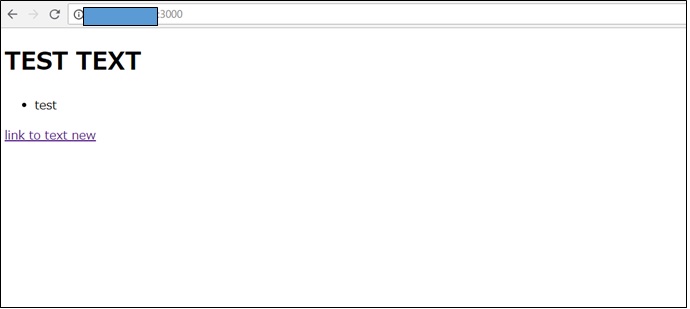
「link to text new」をクリック
無事入力画面が出てきました。
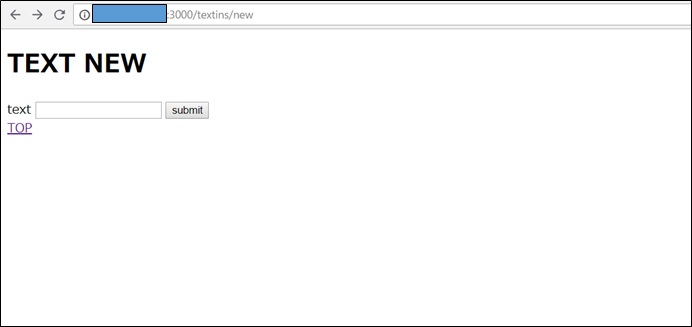
次に入力したものをMariaDBへ保存するようにする。
Routerの確認
# rails routes
     Prefix Verb   URI Pattern                 Controller#Action
       root GET    /                           textins#index
    textins GET    /textins(.:format)          textins#index
            POST   /textins(.:format)          textins#create
 new_textin GET    /textins/new(.:format)      textins#new
edit_textin GET    /textins/:id/edit(.:format) textins#edit
     textin GET    /textins/:id(.:format)      textins#show
            PATCH  /textins/:id(.:format)      textins#update
            PUT    /textins/:id(.:format)      textins#update
            DELETE /textins/:id(.:format)      textins#destroy
DBへの保存は、POSTになるので
POST /textins(.:format) textins#create
この行が該当。
次にコントローラ
# vim app/controllers/textins_controller.rb
  def create
  end
の部分を
  def create
    @textin = Textin.new(textin_params)
    @textin.save
    redirect_to :root
end
に更新し、
最終行に
  # Strong Parameter
  def textin_params
    params.require(:textin).permit(:content)
  end
を追加
ちなみに
# Strong Parameter
def textin_params
params.require(:textin).permit(:content)
end
この部分はストロングパラメータといって、入力欄のセキュリティを高めるためのやりかた。
通常だと入力欄にHTMLタグやスクリプトが入力されるとサーバが入力されたものを実行してしまう場合があるのですが、
それを一旦ストロングパラメータで対応し、サーバに実行されないように変更し、それをcreateアクションに渡すようにしています。
入力画面(new)に入力して、submitボタンをクリックしてみる。
トップの画面に戻り、入力した「rails text new」が表示された。
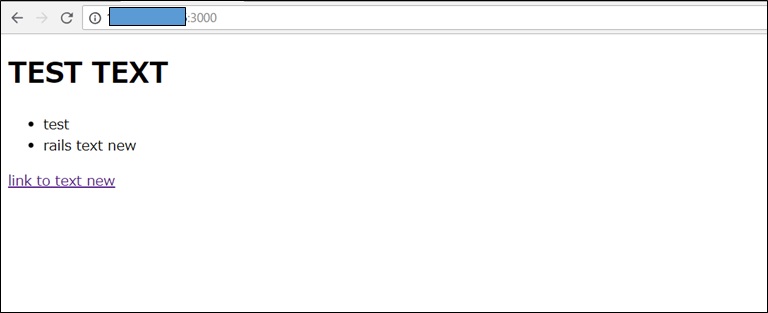
これでテキストを入力して、一覧表示できた。
次回は、表示したものを修正したり、削除したりできるようにしたいと思います。
このテキスト入力アプリができあがると、簡単なものですが、テキスト部分を変更し、TODOリストやタスクリストとして使えそう。


