


今回は、さくらのVPSにてRuby on Railsのインストール、開発環境の構築を行う。
参考)初心者でもかんたん!Ruby on Rails の開発環境の構築手順
https://www.sejuku.net/blog/39936
やること
1.Ruby on Railsに必要なソフトウェアの確認
2.Ruby on Railsのセットアップ
3.Ruby on Rails を起動・確認
4.Firewallの設定
1.Ruby on Ralsに必要なソフトウェアの確認
必要なソフトウェア、バージョン
| ソフトウェア | バージョン |
| rbenv | 最新のもの |
| ruby-buildプラグイン | 最新のもの |
| ruby | 2.4.1 |
| Bundler | 最新のもの |
| Ruby on Rails | 5.1.6 |
rbenv をインストール
rbenvは、rubyのバージョンを選択できるようにする管理ソフト。
バージョンを切り替えたりできるみたい。
新しいバージョンに更新する場合などに、前のバージョンを使ったりできるので便利。
今回はバージョン変更は行いませんが、RubyをインストールするPluginを利用するために必要なためインストールする。
まずrbenvをインストールするために必要なyumパッケージを追加
# yum install -y git gcc openssl-devel readline-devel zlib-devel sqlite-devel gcc-c++ libicu-devel cmake vim
ずらずらーと出るが、Complete! が出れば成功
rbenvインストール
# git clone https://github.com/sstephenson/rbenv.git ~/.rbenv
Cloning into '/root/.rbenv'...
remote: Counting objects: 2737, done.
remote: Compressing objects: 100% (19/19), done.
remote: Total 2737 (delta 11), reused 13 (delta 4), pack-reused 2714
Receiving objects: 100% (2737/2737), 518.23 KiB | 0 bytes/s, done.
Resolving deltas: 100% (1711/1711), done.
パスを通す(rootユーザに対して)
# echo 'export PATH="$HOME/.rbenv/bin:$PATH"' >> ~/.bash_profile
# echo 'eval "$(rbenv init -)"' >> ~/.bash_profile
# source ~/.bash_profile
これをしないとコマンドが使用できない。
パスが通っていないと、/bin/****/コマンド名 みたいに全パスを指定してあげないと
インストールしたソフトウェアのコマンドが使えないので不便。
そのため、どの場所でもパス指定なしでコマンド名だけで実行できるようにするために設定する。
rbenv が使えることを確認
# rbenv --version
rbenv 1.1.1-37-g1c772d5
ruby-buildプラグイン を追加
ruby-buildプラグインは、rubyをコンパイル・インストールをするためのプログラム
# git clone https://github.com/sstephenson/ruby-build.git ~/.rbenv/plugins/ruby-build
Cloning into '/root/.rbenv/plugins/ruby-build'...
remote: Counting objects: 8867, done.
remote: Compressing objects: 100% (19/19), done.
remote: Total 8867 (delta 8), reused 18 (delta 2), pack-reused 8843
Receiving objects: 100% (8867/8867), 1.85 MiB | 1.20 MiB/s, done.
Resolving deltas: 100% (5704/5704), done.
Ruby をインストール
ruby バージョン2.4.1を入れる
# rbenv global 2.4.1
# rbenv rehash
# ruby -v
ruby 2.4.1p111 (2017-03-22 revision 58053) [x86_64-linux]
#
Bundler のインストール
Gemfileというファイルにインストールしたいライブラリを記載して、管理するためのプログラム
いろんなライブラリを入れると何が入っているか分からなくなったり、互換性がなかったり問題がおきる場合があるので
ライブラリのインストール・管理を行ってくれる。
# gem install bundler
Fetching: bundler-1.16.2.gem (100%)
Successfully installed bundler-1.16.2
Parsing documentation for bundler-1.16.2
Installing ri documentation for bundler-1.16.2
Done installing documentation for bundler after 6 seconds
1 gem installed

# rbenv rehash
# bundle -v
Bundler version 1.16.2
#
Ruby on Rails のインストール
# bundle init
# sed -i 's/# gem "rails"/gem "rails", "~> 5.1.0"/g' Gemfile

# bundle install --path vendor/bundler
Don't run Bundler as root. Bundler can ask for sudo if it is needed, and installing your bundle as root will break this application for all non-root
users on this machine.
・
Bundle complete! 1 Gemfile dependency, 38 gems now installed.
Bundled gems are installed into `./vendor/bundler`
問題なく成功したみたいだけど、
⇒rootではbundlerを走らせるな(太字)と書かれている。。。Rootでしちゃったが大丈夫なのか。。。
# bundle exec rails new .
・
・
         run  bundle exec spring binstub --all
* bin/rake: spring inserted
* bin/rails: spring inserted
問題なく完了
rootでいろいろなソフトをインストールしてしまったことが不安ですが、何とかなると思って先に進もう
参考)Rails開発環境をrootユーザーで作成した場合
https://teratail.com/questions/15075
3.Ruby on Rails を起動・確認
# bin/rails s
/root/.rbenv/versions/2.4.1/lib/ruby/gems/2.4.0/gems/bundler-1.16.2/lib/bundler/runtime.rb:84:in `rescue in block (2 levels) in require': There was an error while trying to load the gem 'uglifier'. (Bundler::GemRequireError)
Gem Load Error is: Could not find a JavaScript runtime. See https://github.com/rails/execjs for a list of available runtimes.
Backtrace for gem load error is:
⇒エラーが出てだめだった
調べてみると、therubyracer というライブラリを有効にすると改善する模様。
参考)rails server で There was an error while trying to load the gem 'uglifier'.と言われる解決方法。
https://qiita.com/pugiemonn/items/11a2bc8403e5947a8f13
therubyracer を有効にする。
Gemfileの
# gem 'therubyracer', platforms: :ruby
の、頭の#を消す
# See https://github.com/rails/execjs#readme for more supported runtimes
# gem 'therubyracer', platforms: :ruby
⇒
# See https://github.com/rails/execjs#readme for more supported runtimes
gem 'therubyracer', platforms: :ruby
バンドルインストールを実行
# bundle install
RAILSを起動
# bin/rails s
=> Booting Puma
=> Rails 5.1.6 application starting in development
=> Run `rails server -h` for more startup options
Puma starting in single mode...
* Version 3.11.4 (ruby 2.4.1-p111), codename: Love Song
* Min threads: 5, max threads: 5
* Environment: development
* Listening on tcp://0.0.0.0:3000
Use Ctrl-C to stop
⇒いけたーーー
補足
再度ログインしたときにrootでruby -v やrbenv --versionが使えなかった。
# ruby -v
bash: ruby: command not found
これは、suコマンドでrootになるとログインスクリプト(.bash_profile)が読み込まれないためだった。
ログインスクリプトを読み込むためには、「su -」(スペース、ハイフンを付ける)でrootになると
ログインスクリプトを読み込むので、コマンドが使えるようになる。
$ su -
Password:
Last login: Tue Jun 12 09:50:52 JST 2018 on pts/0
Last failed login: Tue Jun 12 09:53:17 JST 2018 on pts/0
There were 2 failed login attempts since the last successful login.
4.Firewallの設定
rails用の接続ポートをFirewallで許可する
現設定確認
# firewall-cmd --list-all
public (active)
  target: default
  icmp-block-inversion: no
  interfaces: eth0
  sources:
  services: dhcpv6-client ssh-**** http https
  ports: 9443/tcp
  protocols:
  masquerade: no
  forward-ports:
  source-ports:
  icmp-blocks:
  rich rules:
tcp3000を許可
#  firewall-cmd --add-port=3000/tcp --zone=public --permanent
success
設定反映のためのリロード
# firewall-cmd --reload
success
設定確認
#  firewall-cmd --list-all
public (active)
  target: default
  icmp-block-inversion: no
  interfaces: eth0
  sources:
  services: dhcpv6-client ssh-**** http https
  ports: 9443/tcp 3000/tcp
  protocols:
  masquerade: no
  forward-ports:
  source-ports:
  icmp-blocks:
  rich rules:
3000/tcpが追加されている。
rails sで起動
# bin/rails s
=> Booting Puma
=> Rails 5.1.6 application starting in development
=> Run `rails server -h` for more startup options
Puma starting in single mode...
* Version 3.11.4 (ruby 2.4.1-p111), codename: Love Song
* Min threads: 5, max threads: 5
* Environment: development
* Listening on tcp://0.0.0.0:3000
Use Ctrl-C to stop
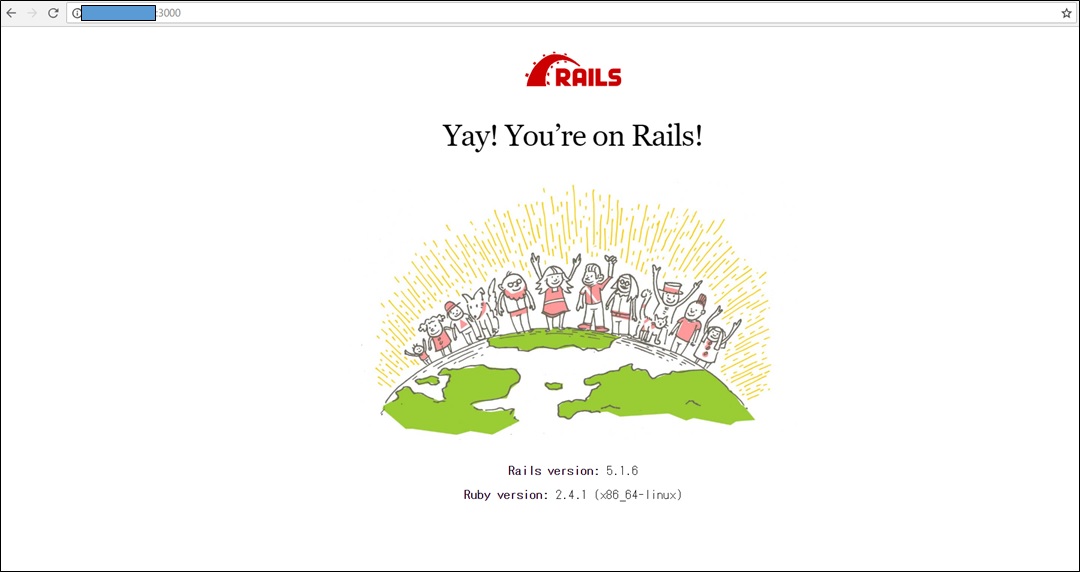
アクセスしてみる
http://VPSのアドレス:3000
できたーーー!!